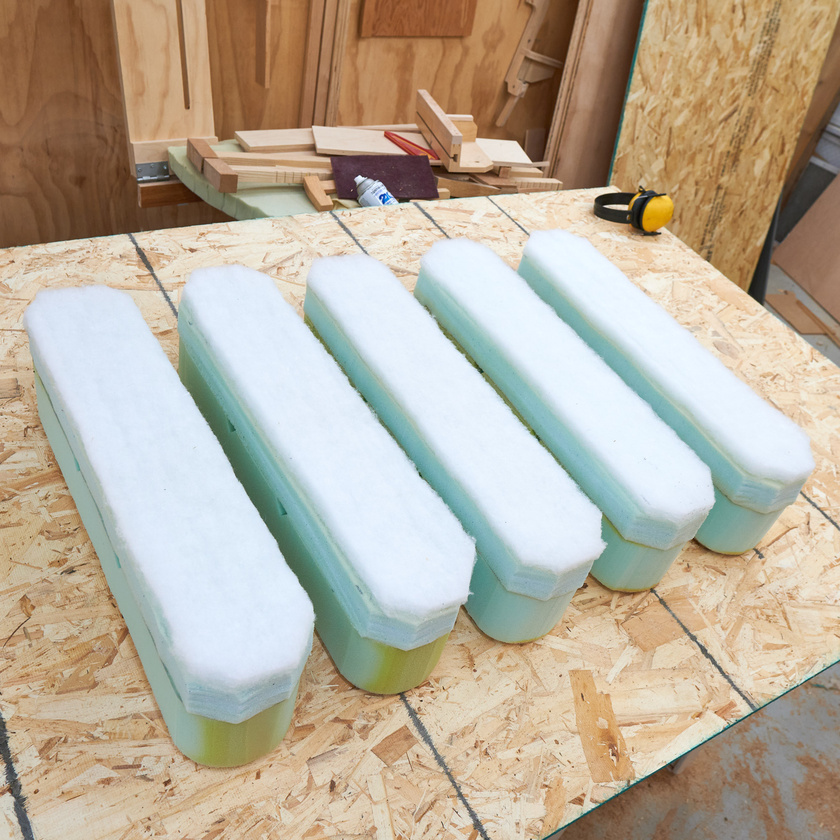
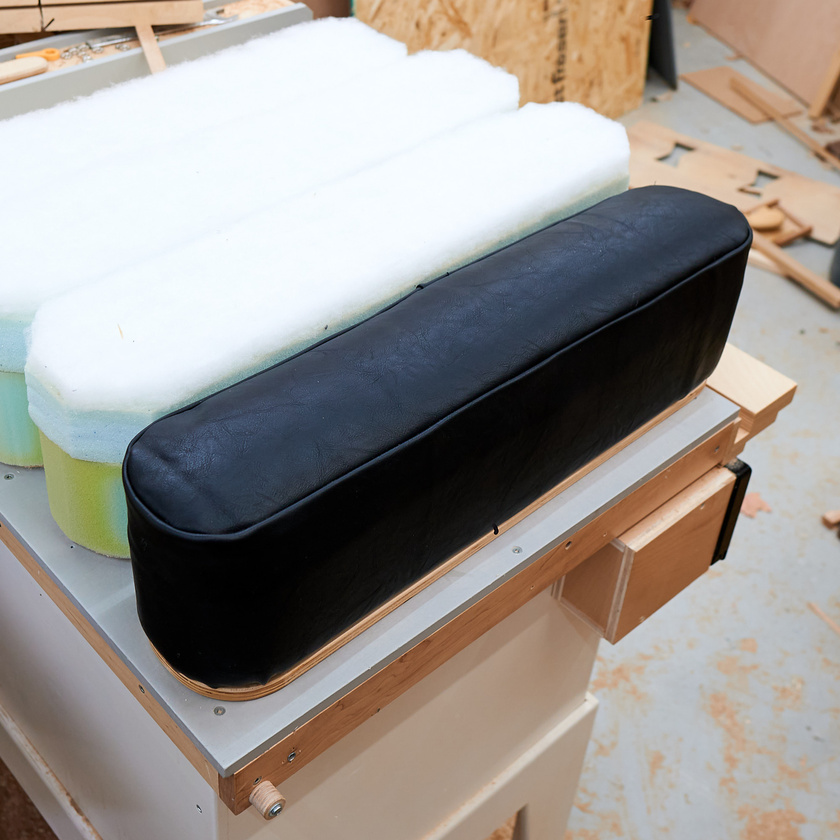
Are half done, at least the easy part (for me). I "just" have to cut and sew the covers for all five. Fun!
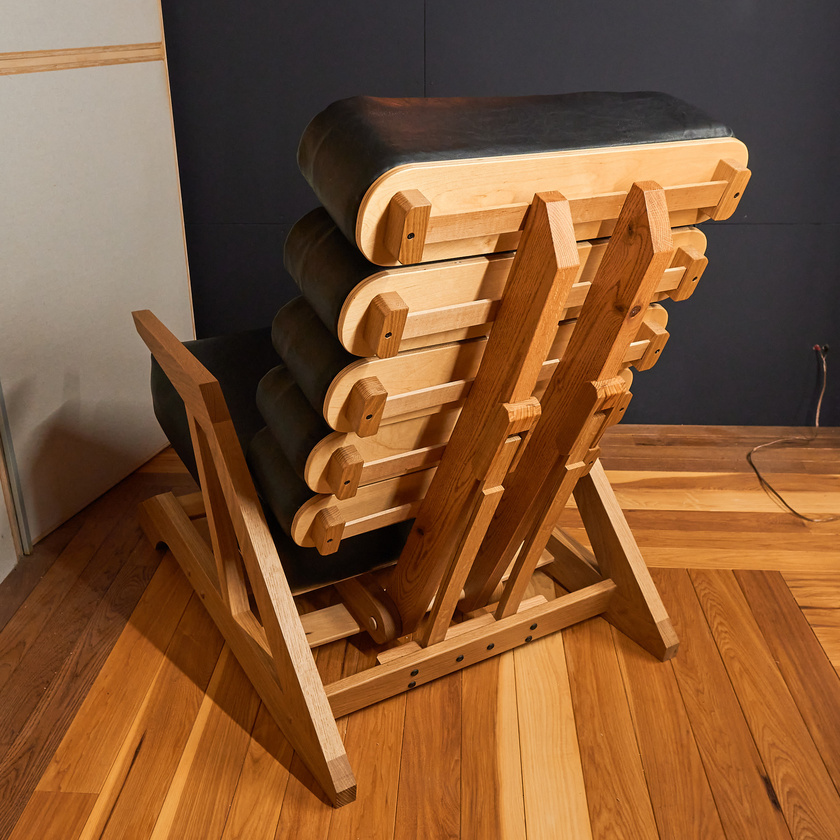
Yesterday I took it apart and moved the chair down to my listening room, where I'll finish assembly. Before that I finished a couple of details, in particular the guide stops for the leaf springs on the back that allow the chair to recline. I tested it (as you'll see in the next exclusive video) and the springs are perfect - I nailed it the first try.
Cleaner air the cheap way.
I'd rate this more effective than the box fan variety, and it's also more compact.
Another way to cut the folding miter is to use a dado blade tilted to 45 degrees. That's what I was going to do in the first place, before I noticed the V-groove bit. The V-groove bit takes longer to make the cuts, though, and router bits get dull a lot faster than blades.
While it takes some time to cut the folding miters, it takes no time at all to assemble - just fold and tape the miters. This method would work just as well for larger drawers made from thicker plywood, but you'd want to use that dado blade instead of the router bit to speed things up.
Very happy with how this works. I've got three sets of knives for my planer (cost over $150) and two sets of knives for my jointer that I sharpened. Saving money when you do it yourself is the same as making money, in my book. I figure I can get at least one more sharpening on the planer knives before they won't work anymore, since they are disposable to begin with and indexed to the cutter head. The jointer knives were made to be sharpened, though, and those two sets will last out the rest of my life.
The grinding wheel is from an 8" bench grinder I have and is a medium grit. Works great for rapidly grinding that primary bevel, then it just takes a few more minutes on the oil stone to take the edge the rest of the way.
I finished the last back cushion and got it installed and here's what the beast is looking like right now.
All that's left to do is make the armrests and I'll mock those up today to figure out the best size and thickness.
One change I'm thinking about is to replace the recline springs (the ones you see in the pic) with a lever system that give a range for the back to recline and is adjusted by a lever handle on the left side. This would be a simple cam that rotates when I operate the lever. Giving it some thought, anyway, but I need to use the chair normally for a few days to see if it's even needed. The springs on the back work well as they are, but I don't want to settle for "good enough" on this.

More sewing practice, I have two of the five back cushions covered and installed on the chair. I figure by the time I have the chair finished, I'll be able to use the sewing machine well enough to make myself a spiffy new hoody :)
Seriously, I don't like sewing. Maybe if it was something other than the thick and hard to wrestle with vinyl it would be more fun.
One thing's for sure: I have a new respect for anyone who does upholstery for a living. It's harder than it looks.
I have almost all of the woodwork done for the chair and can move on to making the back cushions (5) and the armrests. But I'm thinking I may edit together a video to post on my main channel covering the woodworking part of the build.
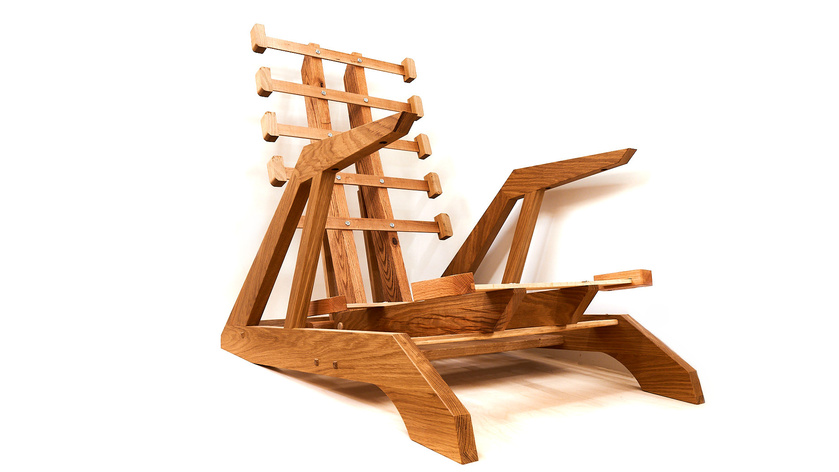
To that end I set up to try to get a good looking thumbnail image for the video, and that what you see here.
Always a challenge, the chair is still up on my workbench and I put pieces of while melamine behind it to cleanup the backdrop. Might work... with the right title.
The reason I say the woodwork is mostly done is that I need to test whether the springs that support the back (that reclines) are stiff enough and also need to figure out how far back I'll let it recline and add a stop at that point. To do that I need to install the seat cushion and actually sit in it and lean back. I'll temporarily load the back with the uncut foam used for the cushions to try to get close to the weight that will be on there.
But altogether I'm quite pleased with how...


